What are the learning goals?
Children love carving pumpkins, but working with the seeds can also get them to learn and explore:
How to deal with the fresh seeds
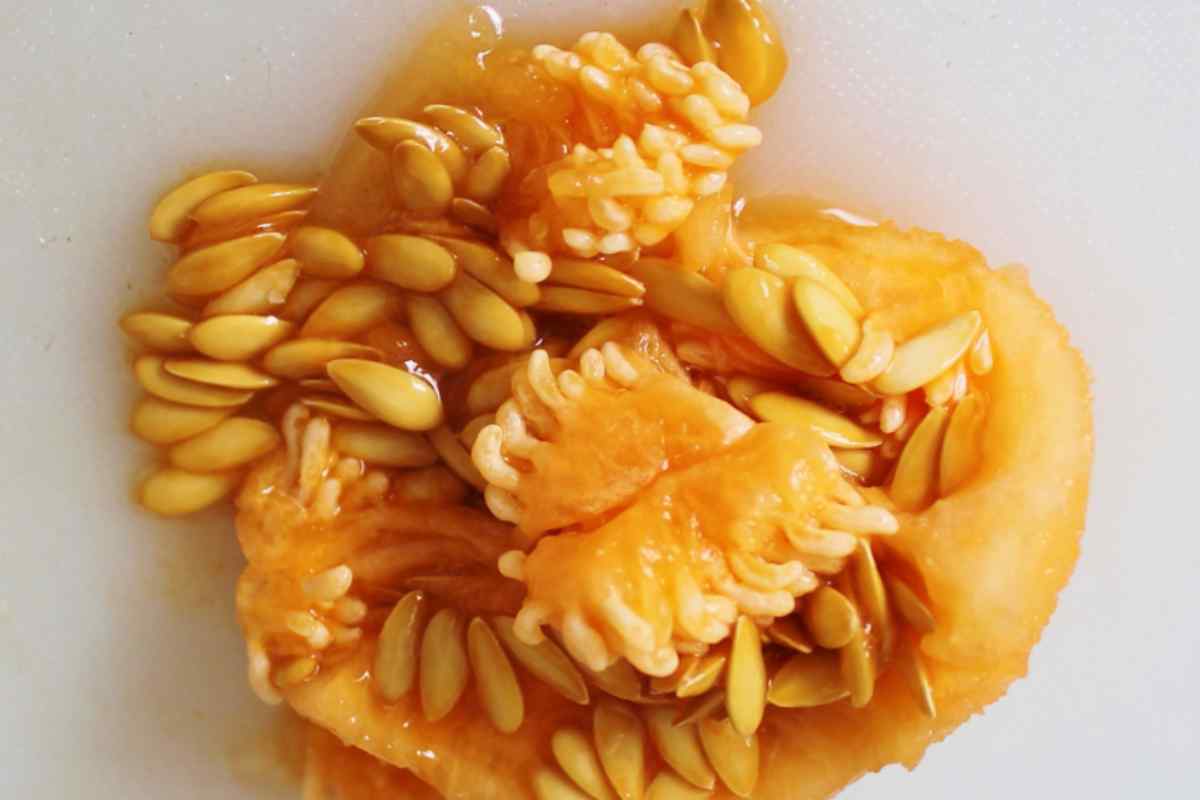
Cleaning pumpkin seeds is one of those jobs that is a bit boring for an adult but quite fun for a child because it is a bit gooey and slimy and you get to play with water too.
First of all get children to pull the bigger bits off with their fingers and thumbs, so that there is only seedy blobby stuff left. Then using fingers as claws, pull lumps apart to break up the strings. Any pieces or strings which come away can go off to one side. This will take a few minutes, and you will end up with a pile of stringy bits (for the compost) and a pile of seeds which are half coated in slimy bits and some stringy bits.
Then there is a cool trick using floating and sinking.
Get a large deep bowl (or saucepan) and fill it with water.
Drop the remaining seedy mush in to the water.
Children can then use their fingertips to swirl and pat the seeds in the water. As it moves about, the fleshy bits start to drop to the bottom of the bowl, and the seeds stay floating at the top.
Some stubborn strings might need a little rub between finger and thumb, or they can put both hands under the water and rub and pull any remaining lumps apart a bit. But the main thing is to patiently pat and swirl.
Children can watch the video below from Jerry James Stone to see what they should do with their hands.
Sorting your seeds
Once your seeds are clean, drain them and leave them to dry a bit.
Then use this fun game to get children to sort the seeds and to practice their language about:
- comparative size (bigger than, smaller than, the same size as)
- comparing colours (paler than, darker than, yellow, white, green)
- exploring texture and shape (slimy, dry, rough, knobbly, ridged, thick, thin, fat)
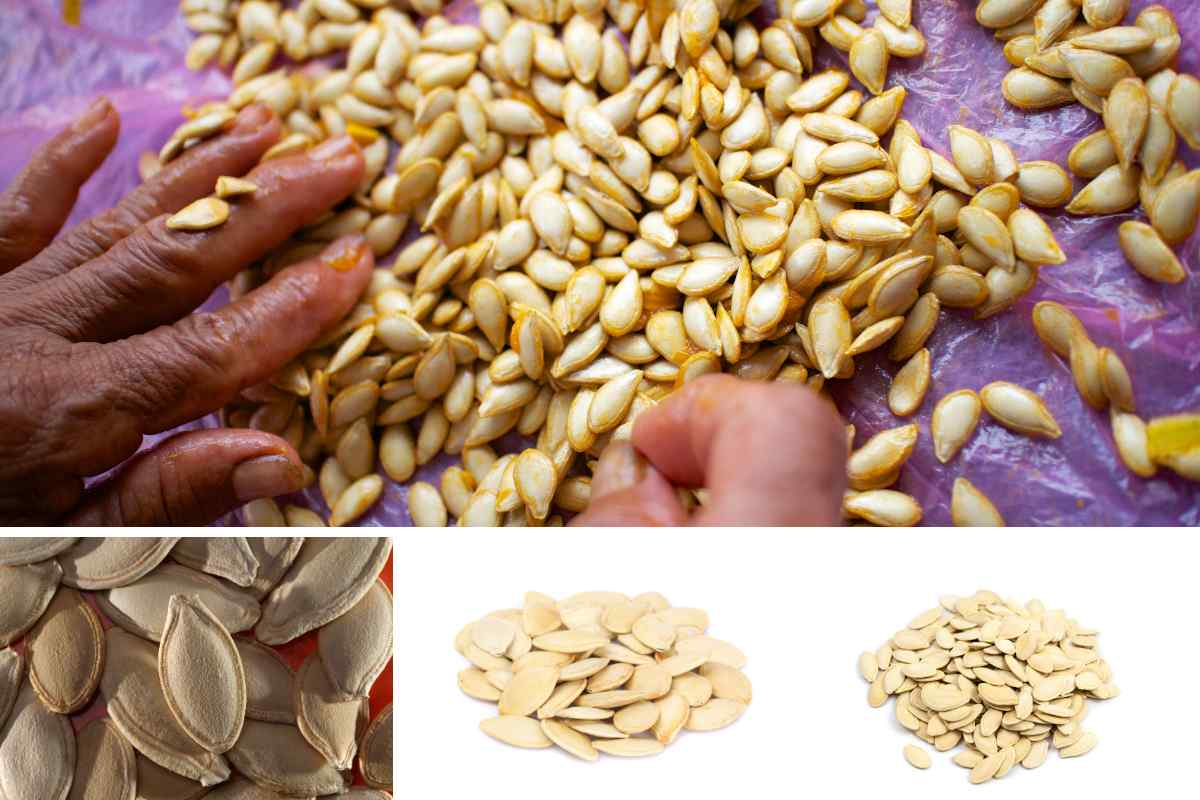
Sort your seeds into three piles:
- large, fat, full seeds without nicks or cracks
- decent sized fattish seeds, can be damaged, but decent size and not too flat
- any small, flat, misshapen or broken seeds
Save your best seed
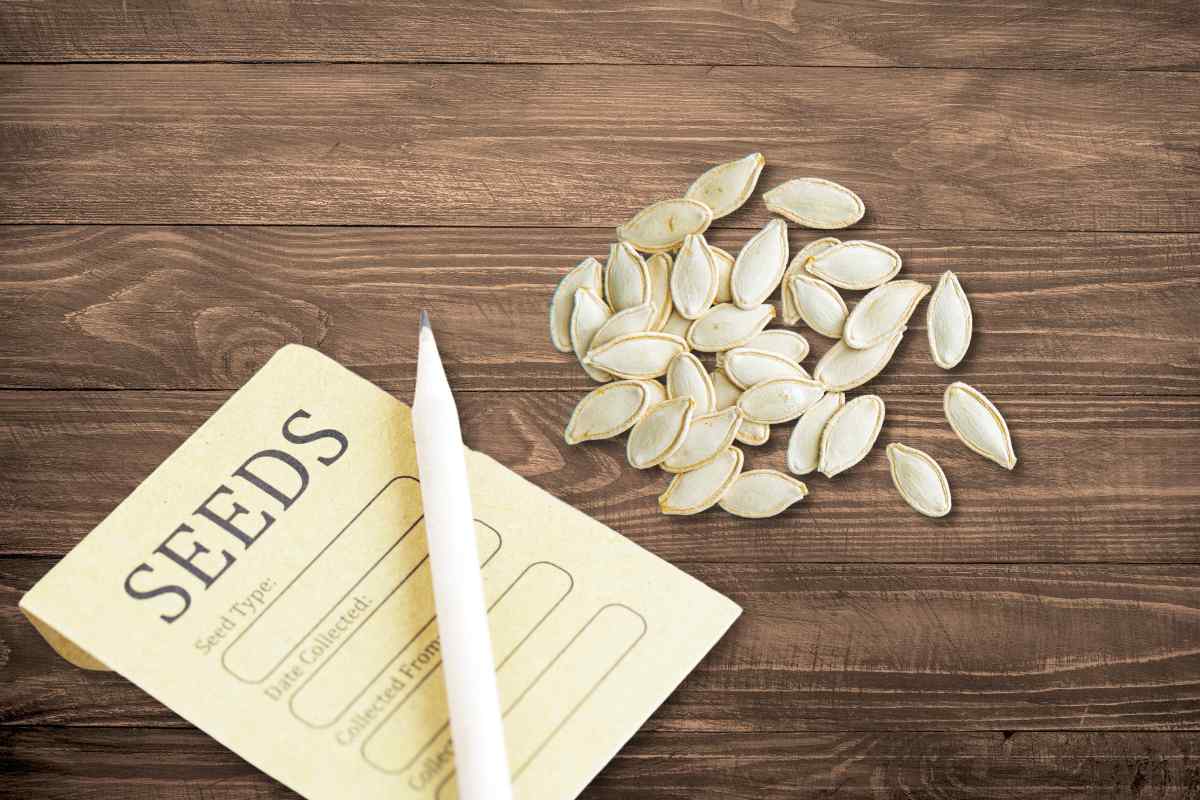
Your best seed will be the seed you will use to make new plants next year.
Explain to the children that this is what farmers have done over hundreds of years, saving the best seed from the best plants to get slightly better each year, so that over time they have better plants which give them more food. They also choose seeds from plants which have done better at surviving pests and diseases, so that next year's plants have a good chance to survive too.
You will probably only be growing 1-5 pumpkin plants (if you are growing any!) so you can save the best 10-20 seeds. This means you can sow a few more than you need, because some won't germinate. And you can sow two different batches, a couple of weeks apart, so that if your first lot get eaten by slugs or killed by frost, you have some spare ones.
Explain to the children that the seeds contain all the instructions for building a new plant. Get them to help you to decide which ones look like they are the most complete instructions, looking at size, plumpness and how intact the shell is.
Put these seeds on a saucer somewhere out of direct sun (a worktop not near a window is fine) for about a week until they are totally dry. Then put them into a paper envelope and mark them with what sort of seeds they are and what year it is. If you put a little bit of kitchen roll or loo roll in it will soak up any remaining moisture you might have missed.
If you are not planning to grow pumpkins, you can still do the choosing for fun. But then you can put all of your seeds into group two anyway.
Cooking Your Second Best Seeds
Your second best seeds are for you to eat!
The very biggest seeds can have quite hard shells, so you might not want to use those, especially if your children struggle with tough or chewy things.
Children can understand that they want the seeds that are quite fat because a lot of the goodness in them is inside the seed. The shells are good too, but if you get a fat middle you are getting all the different parts of the seed and all the benefits. Just like if you eat an egg white or an egg yolk, you get different things, but if you eat a boiled egg or a scrambled egg you get everything from the egg.
There are a bunch of different ways to eat your seeds. But here are our favourites.
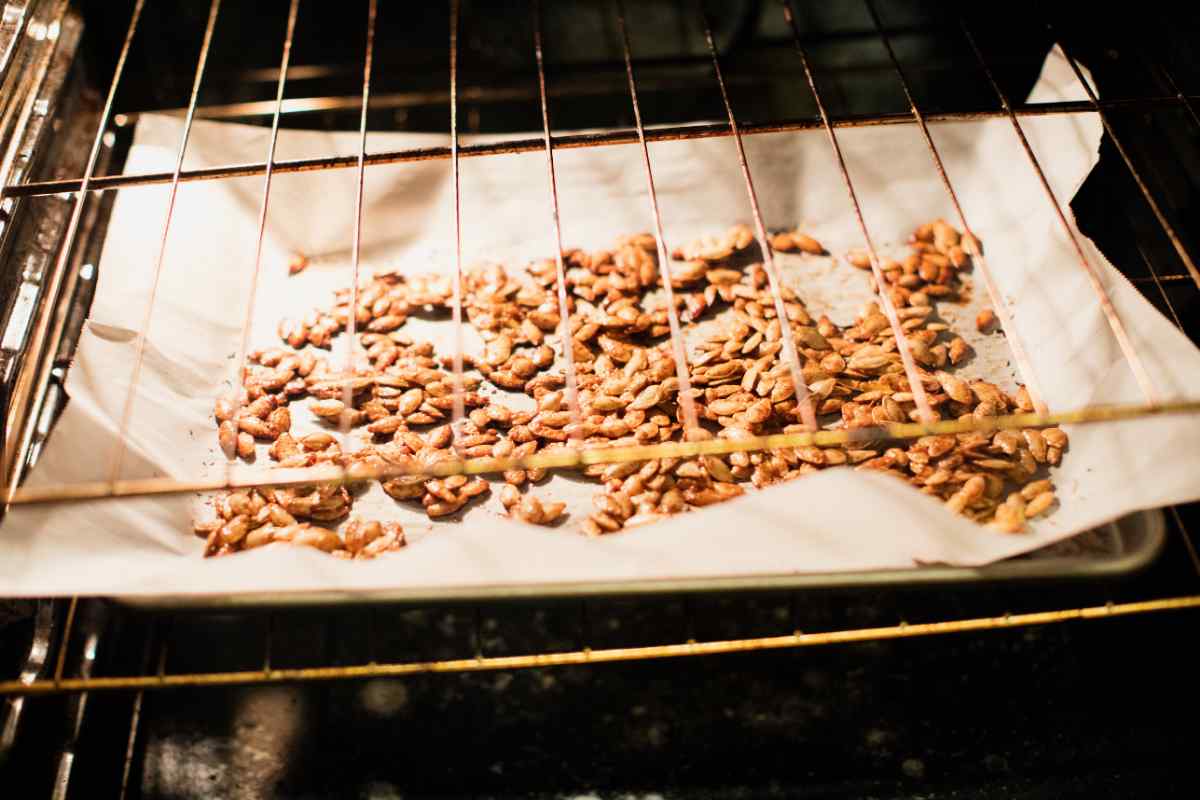
Parboil and then roast - This combinations stops them being too dry in the oven, especially good for smaller or flatter ones. BBC Good Food has good instructions on this here.
Roast directly - this is quicker and children can do it straight away before they get bored. These instructions from Valerie's Kitchen have a video to show you how, and use garlic salt to give a little punch.
Roast straight from the pumpkin - no washing, keep the fleshy bits! These instructions from Teaspoon of Spice tell you how to cut all the corners.
Add flavours - this article from Tasty has SIXTEEN different flavour ideas. Ask the children to pick two or three and try them out and decide which is the best!
Using the rest to keep wildlife happy
We're not the only animals who like pumpkin seeds and find the fibre and healthy fats useful for our health. Birds and small garden animals do, too.
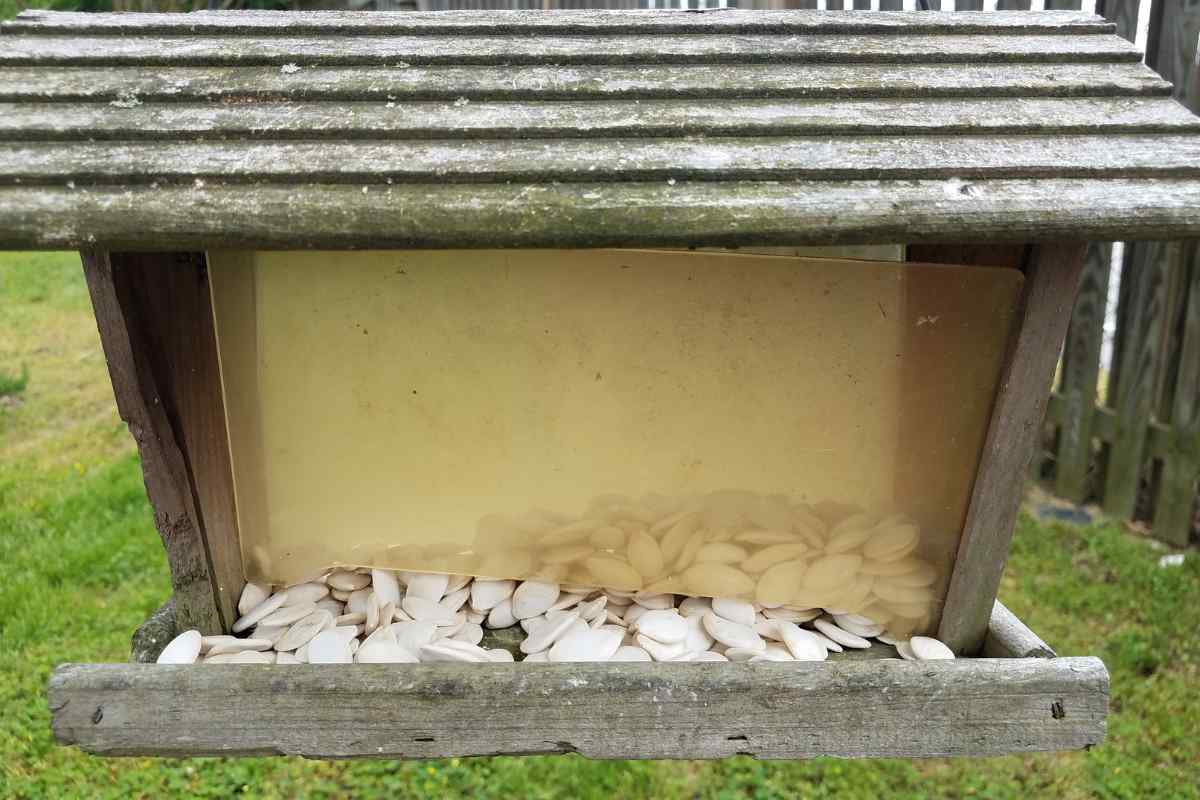
Any seeds which aren't really good enough to be worth cooking and storing for human eating can still be useful for birds.
To prepare them, either let them dry out on a tray on a windowledge for a day or two, or pop them in the oven on another tray while you are roasting yours, but for only 10 minutes, and DON'T ADD FLAVOURINGS.
If you want little birds to eat them, break them up a bit. Children can practice using a pestle and mortar, or put them in a plastic bag and bash them with the end of a rolling pin.
Put them out with your normal bird seed and see who likes them!
When your Jack O'Lantern is starting to droop a bit, you can put it in the compost or give it to wildlife to enjoy. Squirrels and other creatures will love it. Here is a really funny video of a porcupine eating pumpkin - have the sound on because the noises are adorable!
